Why French Tip Nails Are the Ultimate Timeless Manicure
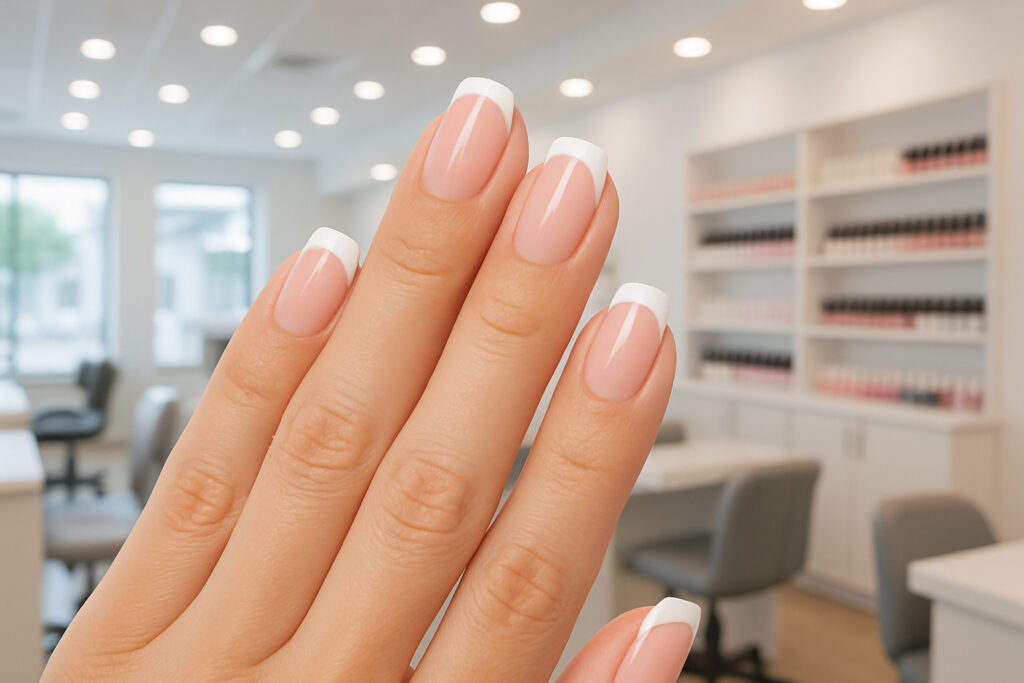
French tip nails are a classic manicure style featuring white (or colored) tips painted over a nude or sheer pink base, creating an neat contrast that’s been popular since 1975. Here’s what makes them special:
Key Features:
- Base: Nude, pink, or clear polish on the nail bed
- Tips: White polish (or colors) painted on nail edges
- Shape: Works best on almond, square, and coffin nail shapes
- Style: Clean “smile line” separating base from tip
- Versatility: Perfect for any occasion, from office to wedding
Why They’re Still Popular:
- Universally flattering on all skin tones
- Easy to customize with colors and patterns
- Can be done at home or in salons
- Professional yet trendy appearance
The French manicure was created in 1975 by Jeff Pink, then CEO of Orly International, as a versatile nail look for Hollywood actresses. Today, it’s evolved beyond the classic white-tip style to include colorful variations, micro-French lines, and creative patterns that keep this timeless look fresh and modern.
Whether you’re new to nail art or looking to perfect your technique, French tips offer the perfect balance of elegance and creativity. Modern variations include chrome edges, pastel rainbow tips, and negative space designs that put a contemporary spin on this classic style.
The beauty of French tip nails lies in their adaptability – you can keep them minimal for work or jazz them up with glitter and bold colors for special occasions. Plus, with the right tools and techniques, they’re surprisingly achievable at home.

French tip nails vocab explained:
French Tip Nails 101: History, Features & Styles
Picture this: it’s 1975, and Hollywood actresses are constantly changing costumes between scenes. They need a manicure that looks perfect with every outfit. Enter Jeff Pink, CEO of Orly International, who created what we now know as french tip nails to solve this exact problem. What started as a practical solution for movie sets quickly became the most iconic nail look in history.
The magic of a French manicure lies in its signature “smile line” – that perfectly curved edge where the white tip meets the nude or sheer pink base. This creates a clean contrast that mimics your natural nail bed and free edge, making your fingers look longer and more neat. The traditional formula is simple: a nude-pink base with crisp white tips, but don’t let that simplicity fool you.
What makes french tip nails so universally loved is how flattering they are on everyone. Whether you have short or long fingers, pale or deep skin tones, French tips just work. They’re particularly stunning on almond, square, and coffin nail shapes. Almond shapes give you that soft, feminine vibe, while square and coffin shapes bring a more modern, structured look.
Latest research on French manicure evolution shows how this classic has continuously adapted while keeping its timeless appeal.
Why french tip nails remain timeless
Here’s a fun fact: the French manicure tutorial on wikiHow has been viewed over 1.4 million times. That’s a lot of people wanting to master this look! And honestly, it makes perfect sense when you think about how versatile French tips are.
Celebrities can’t seem to get enough of them either. From red carpet events to casual coffee runs, french tip nails keep showing up because they’re the ultimate “I’ve got my life together” manicure. They work for job interviews, weddings, date nights, and everything in between.
The best part? They’re practically foolproof. Even if you’re not a nail art pro, a French manicure gives you that polished, put-together look without requiring advanced skills. It’s like the little black dress of the nail world – always appropriate, always chic.
Classic vs modern french tip nails
While the classic white-tip French manicure will never go out of style, modern variations have taken this look to exciting new places. Today’s french tip nails come in every color you can imagine – soft pastels, bold neons, shimmery metallics, and even glittery finishes.
The micro-French trend is huge right now, especially on TikTok. These ultra-thin white lines are perfect if you have shorter nails or prefer a more subtle look. On the flip side, some people are going for deeper tips that extend further down the nail for maximum drama.
Reverse French manicures put the accent color at the base near your cuticle instead of at the tip. Ombré French tips create a gorgeous gradient effect, while negative space designs cleverly incorporate your bare nail as part of the overall design.
The creative possibilities are endless: chrome edges give you that futuristic metallic look, pastel rainbow tips bring playful color, and holiday glitter adds seasonal sparkle. You can even try geometric patterns with triangular tips or go completely asymmetrical for an avant-garde vibe.
The beauty of modern French tips is that you can customize them to match your personality, outfit, or mood while still getting that classic elegance that made them famous in the first place.
DIY: Step-by-Step Classic & Modern Variations

There’s something deeply satisfying about creating perfect french tip nails in the comfort of your own home. Not only do you get that salon-fresh feeling whenever you want it, but you’ll also save serious money in the process. When you consider that a French manicure can cost $20-25 for regular polish or $45-50 for gel at most salons, learning to DIY pays for itself pretty quickly.
The secret to professional-looking results lies in having the right tools ready before you start. You’ll want to gather a quality base coat and top coat for longevity, a sheer nude or pink base polish (Essie’s Mademoiselle is a favorite), white tip polish or whatever accent color speaks to you, and French tip guides or tape for those crisp, clean lines.
Don’t forget your detail nail art brush for cleanup work – trust me, you’ll need it! A good nail file and buffer are essential for prep, while cuticle oil and a pusher keep your nail health on point. Keep cotton swabs and acetone handy for those inevitable little mistakes we all make.
If you’re going the gel route, you’ll need a UV/LED curing lamp too. Yes, it’s an upfront investment, but when you calculate how much you’ll save over time, it practically pays for itself. Plus, there’s something incredibly empowering about being able to do your own nails whenever the mood strikes.
For more nail inspiration that works beautifully on shorter lengths, check out our guide on Nail Art Designs for Short Nails: Easy Step-by-Step.
How to create perfect french tip nails at home
Creating flawless french tip nails at home starts way before you even touch the polish bottle. Proper preparation is absolutely everything – it’s the difference between a manicure that chips in two days and one that looks fresh for weeks.
Start by completely removing any old polish and giving your hands a thorough wash. Gently push back your cuticles using a cuticle pusher, but resist the urge to cut them – that’s a fast track to infection city. File your nails to your desired length and shape, then give them a light buff to help the polish grip better.
Now comes the fun part! Clean your nail plates with rubbing alcohol or a nail dehydrator to remove any oils that might interfere with polish adhesion. Apply a thin base coat and let it dry completely – patience here really pays off later.
Next, apply one to two thin coats of your chosen nude or pink base color. Thin coats are your friend because they dry faster and look more professional than thick, gloopy layers. Let each coat dry completely before moving on.
Here’s where the magic happens: place your French tip guides or tape following your nail’s natural curve. Take your time with this step because it determines how your final result will look. Paint the exposed tip area with steady, confident strokes, using the corner of the brush for extra precision.
Remove the guides while the polish is still slightly wet – this prevents peeling and gives you cleaner lines. Use a detail brush dipped in acetone to clean up any wobbly spots along the smile line. Don’t worry if it’s not perfect on your first try; even nail techs had to practice!
Finish with a quality top coat, making sure to seal the free edge of your nail. This step is crucial for preventing chips and extending your manicure’s life.
For gel polish lovers, cure each coat under your UV/LED lamp for about 30 seconds. The slower drying time actually works in your favor here, giving you more wiggle room to perfect those tip shapes before curing.
Updating the look: colorful & seasonal twists
Who says french tip nails have to stick to the classic white-and-nude combo? Modern French manicures are all about personal expression and having fun with color. Chrome edges are absolutely everywhere right now, and for good reason – they add this futuristic, almost holographic effect that catches light beautifully.
To create chrome tips, apply your base color as usual, then use chrome powder or metallic polish for the tips instead of traditional white. The result is unexpectedly glamorous and perfect for special occasions.
Seasonal variations keep your French manicure feeling fresh all year long. Spring calls for pastel rainbow tips or tiny floral accents that celebrate new beginnings. Summer is all about bold neon brights or those gorgeous ombré sunset effects that remind you of beach vacations.
When fall rolls around, try deep burgundy or burnt orange tips with a matte finish for that cozy, sophisticated vibe. Winter practically demands glitter tips or metallic silver – perfect for holiday parties and New Year’s celebrations.
Color-blocking techniques create striking, geometric looks by pairing unexpected color combinations. Think navy and coral for a preppy vibe, or go monochromatic with different shades from the same color family for something more subtle but still interesting.
The negative space trend is particularly cool because it incorporates your natural nail as part of the actual design. You might leave the middle section of your nail clear while painting both the base and tips, or create geometric cutouts that show off your natural nail in artistic ways.
The beauty of modern French tips is that there really are no rules anymore – just endless possibilities for creativity and self-expression.
Care, Longevity, and Safe Removal

Getting gorgeous french tip nails is only half the battle – keeping them looking fresh and removing them safely is where the real magic happens. The good news? With the right care routine, you can extend your manicure’s life significantly and keep your natural nails healthy in the process.
Your choice between gel, acrylic, and regular polish will dramatically affect how long your French tips last. Regular polish gives you the freedom to change colors weekly, typically lasting 3-5 days before showing wear. It’s perfect if you love switching up your look or you’re still practicing your technique.
Gel polish is the sweet spot for most people, offering 2-3 weeks of chip-free wear with that gorgeous high-shine finish. The UV-cured formula creates a harder surface that can handle daily activities much better than regular polish.
Acrylic extensions offer the longest wear at 3-4 weeks, making them ideal if you want dramatic length or have naturally short nails. However, they do require more commitment since professional removal is recommended to avoid damage.

Making french tip nails last longer
The secret to long-lasting french tip nails isn’t complicated – it’s all about treating your hands with a little extra love. Think of your manicure as an investment that deserves protection.
Daily cuticle oil application is your best friend here. It keeps the nail area hydrated and prevents that dry, lifted look around the edges. Just a tiny drop massaged into each cuticle before bed works wonders.
Your hands do a lot of work, so wearing gloves while cleaning, gardening, or doing dishes can double your manicure’s lifespan. Hot water is particularly harsh on polish, causing it to lift and chip faster than you’d expect.
Here’s a game-changer: reapply your top coat every 3-4 days. This simple step refreshes the shine and adds a protective layer that helps prevent chips. It takes five minutes but can extend your manicure by a full week.
Avoid the temptation to use your nails as tools. Opening cans, scraping labels, or picking at things puts stress on the polish and can cause cracks that lead to bigger chips.
When applying polish, always “cap the free edge” by painting across the tip of your nail. This seals the polish and prevents water from getting underneath and causing lifting.
Safe removal without damage
Let’s be honest – we’ve all been tempted to peel off chipped polish. But this is one of the worst things you can do to your nails. Peeling removes layers of your natural nail along with the polish, leaving you with thin, weak nails that take months to recover.
For regular polish removal, acetone-based removers work faster and more effectively than non-acetone versions. Soak a cotton ball, press it onto your nail for about 15 seconds to soften the polish, then gently wipe in one direction. This prevents spreading color around your cuticles.
Gel polish requires more patience but the process is straightforward. File off the shiny top coat first to break the seal, then soak acetone-soaked cotton balls on each nail and wrap your fingertips in foil. After 10-15 minutes, the gel should push off easily with a cuticle pusher. If it doesn’t come off easily, soak longer rather than forcing it.
Acrylic removal is best left to professionals, but if you’re doing it at home, file down most of the length first, then soak in acetone for 20-30 minutes until the acrylic becomes soft and pliable.
Always finish any removal process with cuticle oil and a nourishing treatment. Your nails will be dehydrated from the acetone, so restoring moisture is crucial for maintaining healthy nail growth.
The key to healthy nails is patience during removal and consistent care between manicures. Your future self (and your nail technician) will thank you for taking the time to do it right.
Frequently Asked Questions about French Tip Nails
Are french tip nails still in style for 2025?
French tip nails are absolutely having their moment in 2025! This classic look is experiencing what can only be described as a full-blown renaissance, and honestly, we’re here for it. The beauty world has acceptd French tips with fresh enthusiasm, proving that some styles truly are timeless.
TikTok has played a huge role in this revival, with nail artists and everyday creators sharing their unique takes on the traditional look. The micro-French trend is absolutely everywhere right now – these ultra-thin white lines are perfect for anyone who wants that classic elegance without the drama. It’s especially great for shorter nails, which makes it accessible to pretty much everyone.
Heat-map data from social media platforms shows french tip nails content racking up millions of views, which tells us this isn’t just a passing fad. People are genuinely excited about this look again, and for good reason.
What’s really exciting about French tips in 2025 is how creative people are getting. We’re seeing vibrant colored tips, gorgeous metallic finishes, and mind-blowing negative space designs that would make Jeff Pink proud. The basic concept stays the same, but the execution can be completely personalized to match whatever’s trending in fashion right now.
Which nail shape works best for french tips?
Here’s the wonderful thing about french tip nails – they’re like that perfect little black dress that somehow works on everyone. Most nail shapes can pull off French tips beautifully, but some combinations are absolutely magical.
Almond shapes create the most neat, feminine look you can imagine. The gentle curves of almond nails complement the smile line so naturally that it almost looks effortless. This shape also has the amazing ability to make your fingers look longer and more graceful – it’s like an instant hand makeover.
Square shapes are perfect if you love that clean, modern aesthetic. There’s something so satisfying about the way the straight edges contrast with the curved smile line. This shape works especially well for contemporary French tip variations and gives off serious boss-lady vibes.
Coffin shapes bring the drama in the best possible way. If you want your french tip nails to make a statement, this is your shape. The elongated form provides plenty of canvas for bold colors or fancy embellishments, making it perfect for special occasions or when you just want to feel extra glamorous.
Don’t worry if you prefer shorter nails – French tips look stunning on any length. The secret is keeping the white tip proportional to your nail size. Thinner lines work better on shorter nails and actually look incredibly chic and minimalist.
What’s the biggest mistake when doing french tip nails?
Oh, this is such a good question because we’ve all been there! The number one mistake people make with french tip nails is painting that white tip line way too thick. We get it – when you’re nervous about getting the line straight, it’s tempting to make it bold and obvious. But a chunky, thick line can make even the most careful manicure look a bit amateur.
The golden rule is that your tip should be roughly one-third of your total nail length. Any thicker and it starts to overwhelm the whole look. Think delicate and proportional rather than bold and obvious.
Skipping the base coat is another mistake that’ll come back to haunt you. Without that protective layer, your nails can get stained, and the polish won’t stick properly. It’s like trying to paint a wall without primer – technically possible, but you’ll regret it later.
Rushing the drying time between coats is probably the most frustrating mistake because you think you’re almost done, and then – smudge city! Each coat needs to be completely dry before you move on to the next step. We know it’s tempting to speed things up, but patience really pays off here.
Other common slip-ups include creating uneven smile lines (take a moment to visualize the curve before you start painting), forgetting to cap the free edge with your top coat (which leads to chipping), and trying to work with old or thick polish that’s past its prime.
Even professional nail technicians had to practice to get those perfect smile lines. Your first attempt might not be salon-perfect, and that’s completely normal. The more you practice, the better you’ll get – and honestly, the process can be pretty relaxing once you get into the groove.
Conclusion
At Beyond Beauty Lab, we’ve seen how french tip nails continue to captivate beauty enthusiasts nearly five decades after Jeff Pink first introduced them to Hollywood. There’s something truly special about a technique that remains as relevant today as it was in 1975 – and honestly, that’s pretty impressive for any beauty trend.
What we love most about French manicures is how they grow with you. Start with the classic white-tip look when you’re learning, then gradually experiment with colorful tips, chrome finishes, or micro-French designs as your confidence builds. It’s like having a beauty skill that never goes out of style, no matter how much the nail art world evolves around it.
The money-saving aspect is real too. Once you master the techniques we’ve shared, you’re looking at significant savings over time. A $50 gel French manicure every three weeks adds up quickly, but your initial investment in quality tools pays for itself within a few months.
Don’t get discouraged if your first few attempts look more “abstract art” than “salon perfect.” We’ve all been there! Even professional nail technicians had to practice getting that smile line just right. The beauty of doing your own nails is that you can practice whenever you want, experiment with wild color combinations, and develop your own signature style.
The world of french tip nails keeps surprising us with fresh interpretations and creative twists. From TikTok’s micro-French obsession to the bold geometric patterns we’re seeing on runways, this classic technique continues to inspire new generations of nail artists.
Your journey with French tips is just beginning. Keep practicing, keep experimenting, and most importantly, have fun with it. After all, the best manicure is one that makes you smile every time you look at your hands.
Ready to expand your beauty knowledge beyond nails? Check out our comprehensive guide on Beauty Tips for Clear and Glowing Skin to complete your head-to-toe beauty routine with the same DIY confidence you’re building with your manicure skills.